
Reading this in your email? For easier reading – Click here.
Despite winter’s encroachment here in northern New England, we’ve been hard at work at Green Mountain Timber Frames.
For our most recent project, we have been restoring a beautiful 30×42 foot barn frame from New York state. Built in the 1790s, it is a fine example of a gunstock frame.

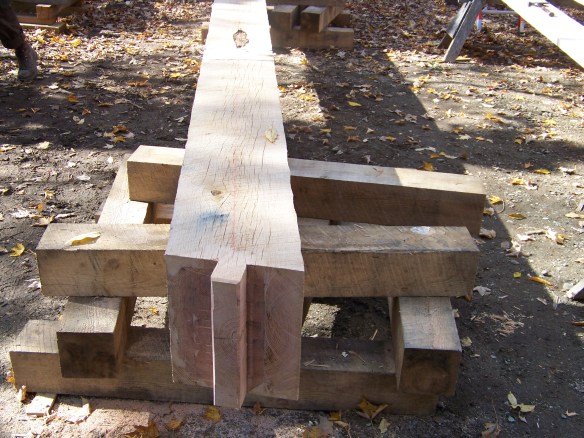
Look at the handsome grain and joinery of this gunstock oak post
What is a gunstock timber frame?
This means that the upper timbers all come together at the same elevation. It is an incredibly strong method of construction.
 However, there is a drawback to gunstock frames: it can be challenging to install a second floor because the rafters start at the same elevation as the loft. It is not an issue for storing hay, but can be a challenge when designing a bedroom! The team, which includes a restoration architect, our client and ourselves, figured out a way to install a second floor in this particular barn. We used scarf joints to raise the height of each post, which allowed us to create a 20 foot loft area below the height of the upper horizontals.
Technical challenges of assembling this timber frame
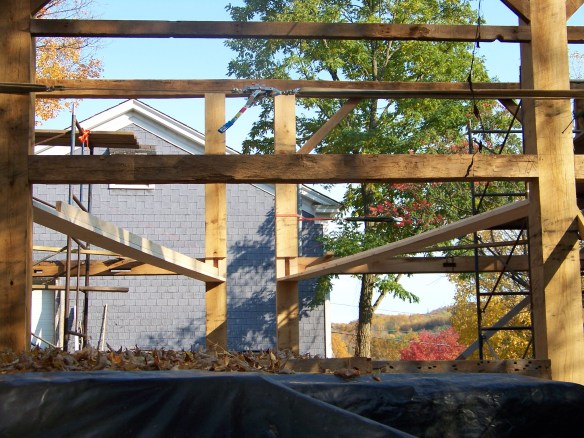
It’s a good thing we love a challenge, because with this frame, (unlike most) we couldn’t make all the changes without assembling the frame. Why? Because of the angled “summer beams”-the large timbers that pick up the weight of the floor joists. (We will get to the reason for the splayed summer beams in a bit.) Doing compound joinery on a 220 year old structure is only possible if you erect that section allowing the joinery to be measured and fitted in place.
Creating the second floor
So how did we solve our little technical problem? We began by erecting half the barn frame behind our shop.
This timber frame is predominantly white oak, so we wanted to match the original species of wood. We purchased white oak timbers from Ohio since white oak is hard to find in our area these days. Given the long span of these beams, we had to use 10×12 inch timbers. For the new posts, we used 10×10 inch timbers.
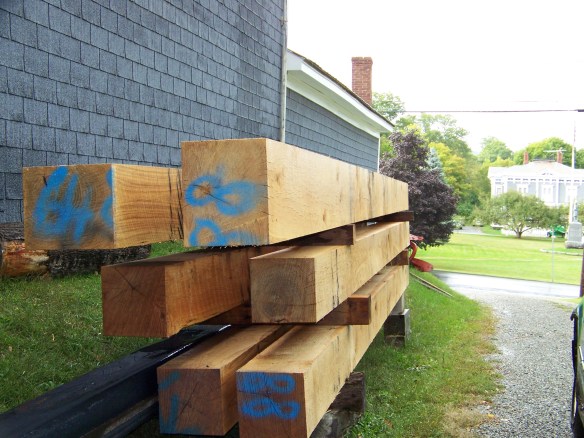
White oak timbers
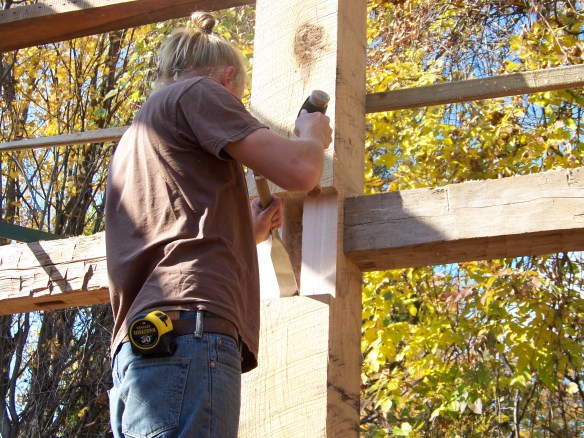
In order to help the new timber blend in with the old, we used the old method to create an authentic texture: a broad axe and an adze.

Here’s a shot of Luke, hewing the new oak beams
Next, we created crooked joinery, because the heavy carrying timbers are splayed, rather than the typical perpendicular or right angles to each other. The only way we could be certain the timbers would join together properly and securely was to fit the timbers in place.
We chopped and chiseled…made templates…and set the 1000 pound timbers in place.

Chopping
Chiseling
Making templates
Setting thousand pound timbers
This now creates a second floor that did not exist originally!
But why did we have to angle the carrying timbers?
To maintain the original ladder we tightened up the two posts carrying the heavy floor girts. The ladder rungs will be set in the close pair of 10×10′ white oak posts. We have not placed the rungs between the posts yet. That was the least of our problems…………


The end wall will have a 12 foot bay window between those posts. Along with the owner and architect, we wanted the heavy summer beams, combined with the posts, to frame the large bay window in a fascinating way!
So the owner gets his ladder and his bay window and a very unusual design that makes this particular frame restoration much more interesting.
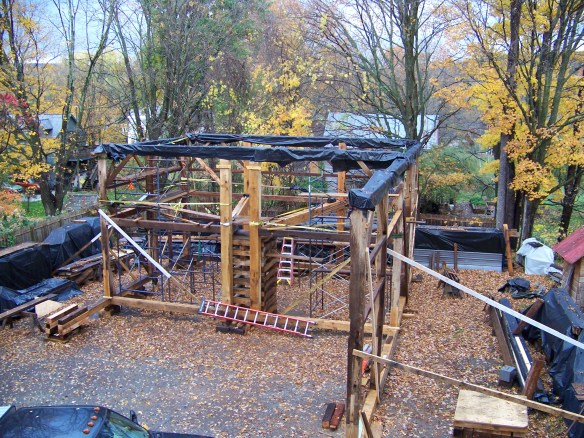
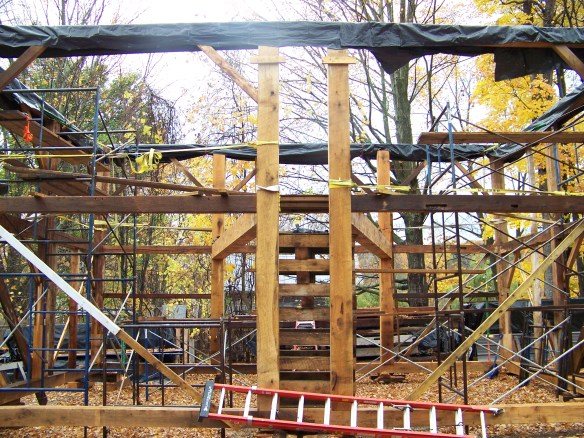
In order to check new joinery on other sections of the frame, as well as to store it safely until spring, we put the whole barn up and applied a temporary roof.

Here’s the 30×42′ frame tipped up with a temporary roof.
Next steps in the restoration process
Our next step is to set all the hand hewn floor joists into these heavy carrying timbers using traditional joist pockets. But, for the moment, we have moved on to another outside project. With this structure standing and roofed for the winter, we will have plenty of opportunities to return to this task when it is raining or snowing! In the spring, we will label everything, disassemble, and ship the frame to its final location. It will be ready to stand strong and true for another 220 years.

Note the incredibly wide original siding boards!
Stay tuned for a story on our next project: a timber-framed porch. We better get going on it, as we received our first heavy snowfall of the year this past week!
Have a blog idea for us?
A pressing question about historic timber framing? Let us know!
(802) 774.8972 or Luke@GreenMountainTimberFrames.com
